Building breadboards to work with tiny little surface-mount ICs
The Solution
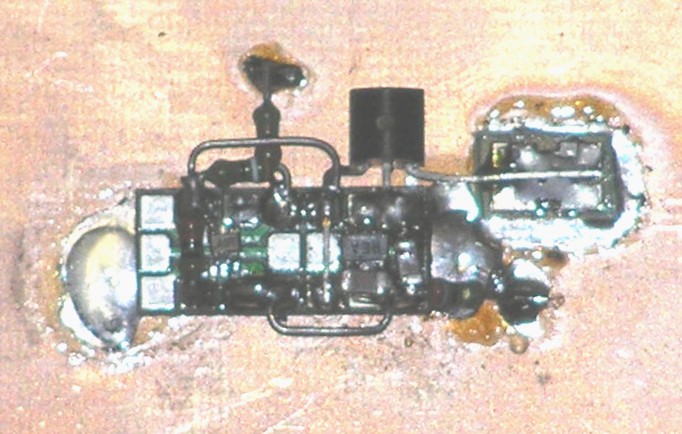
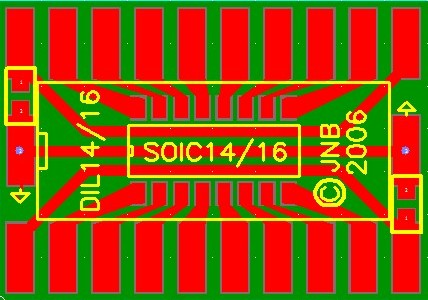
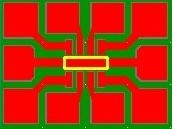
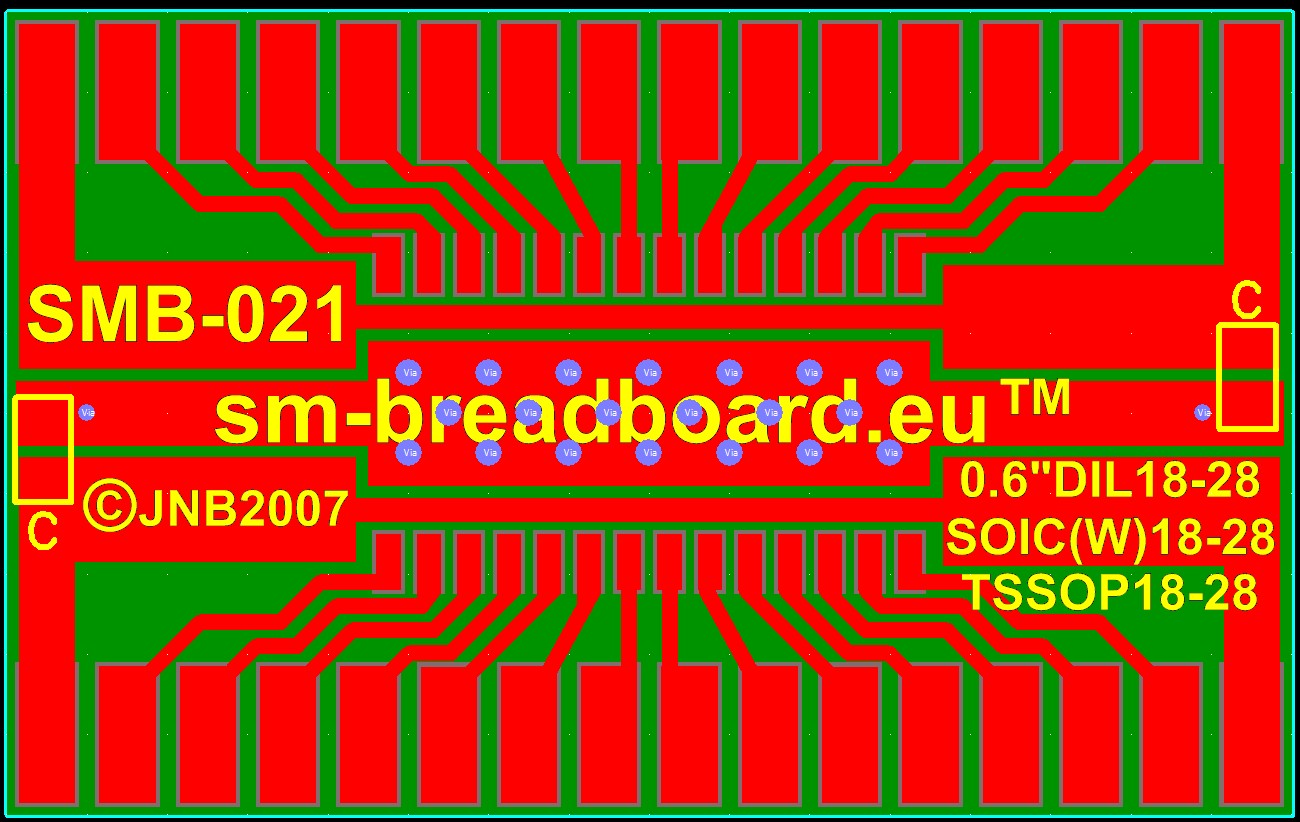
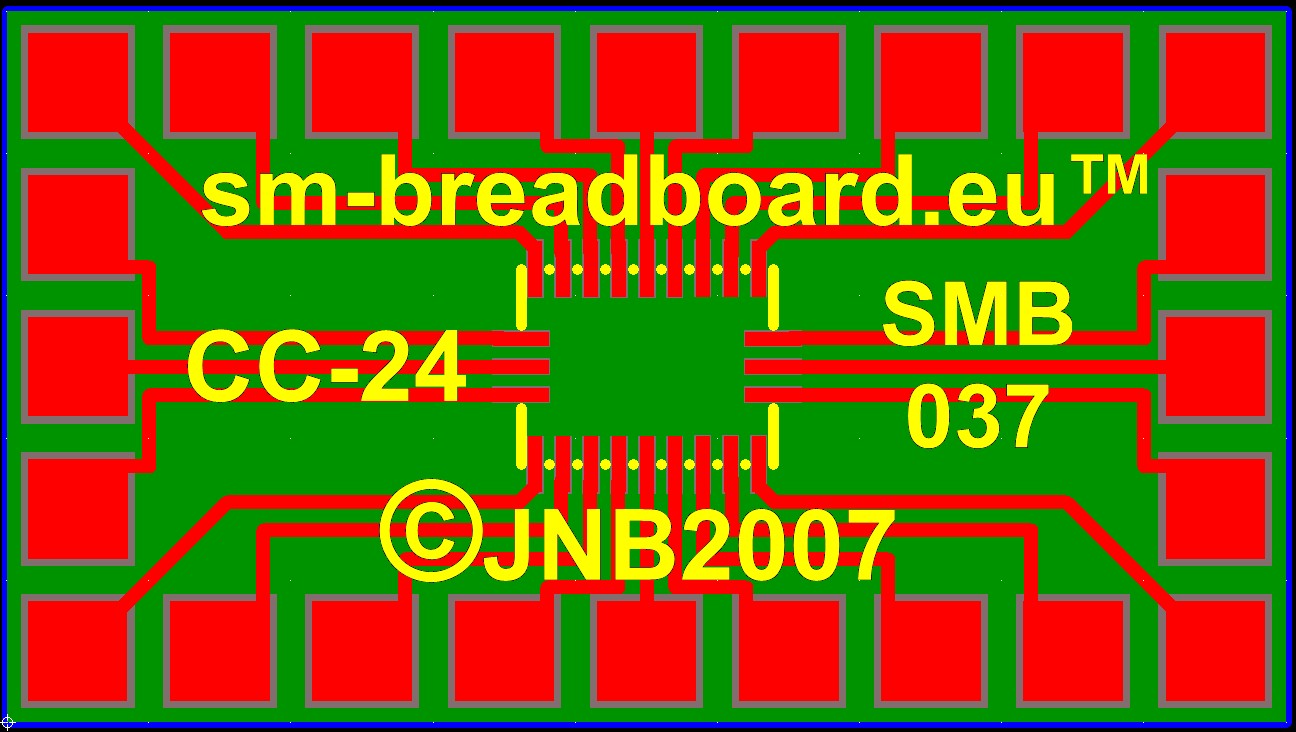
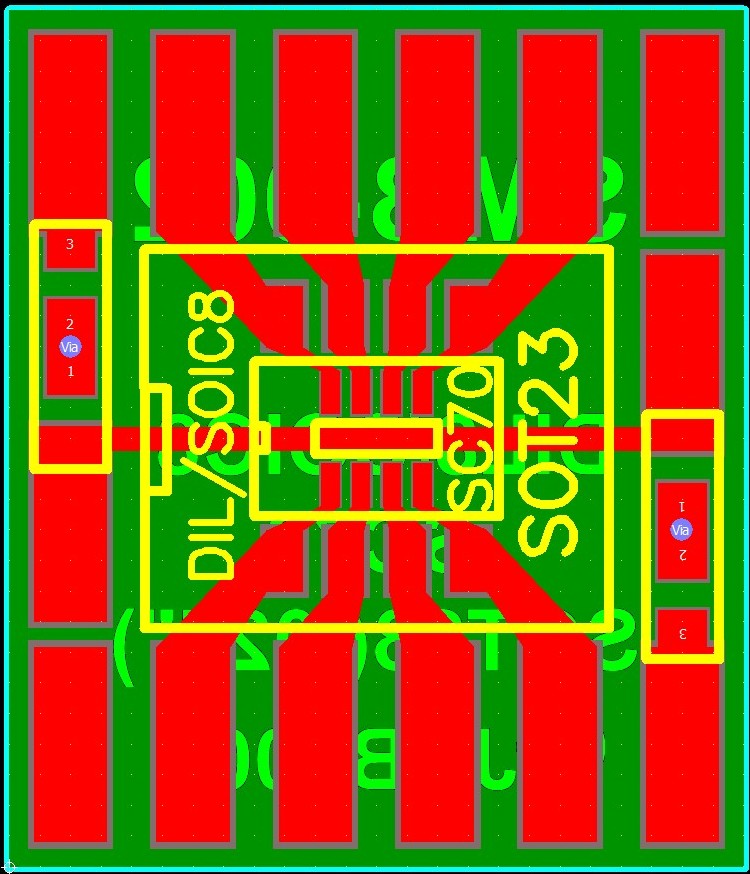
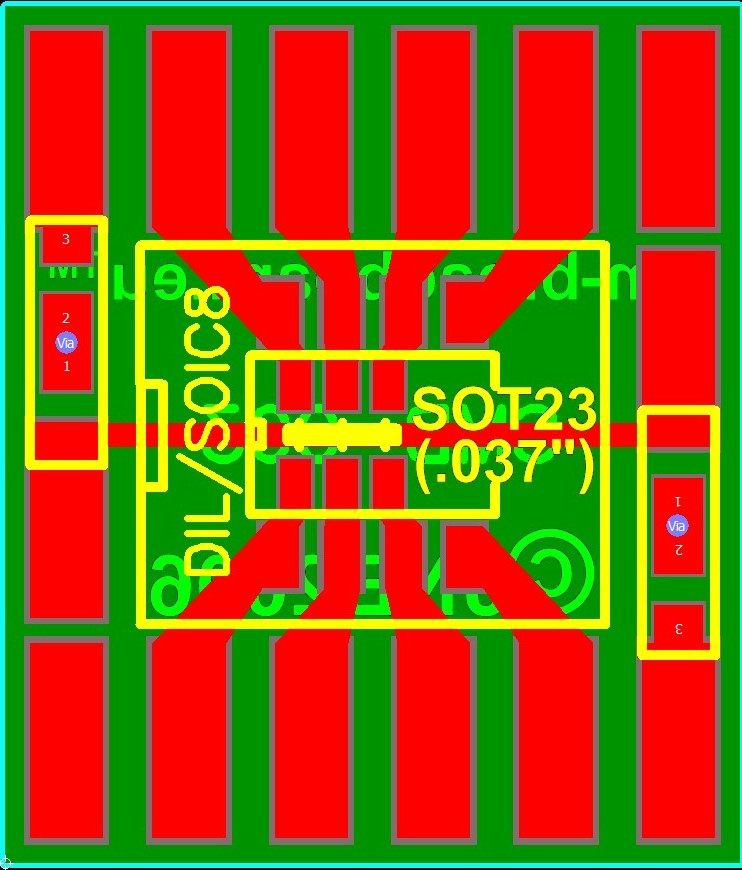
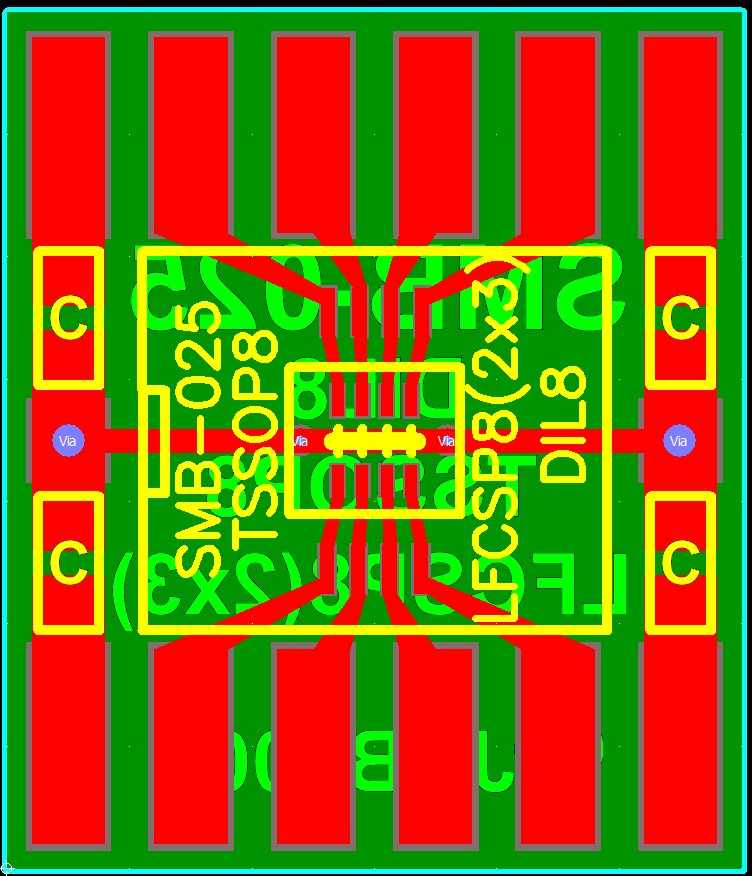
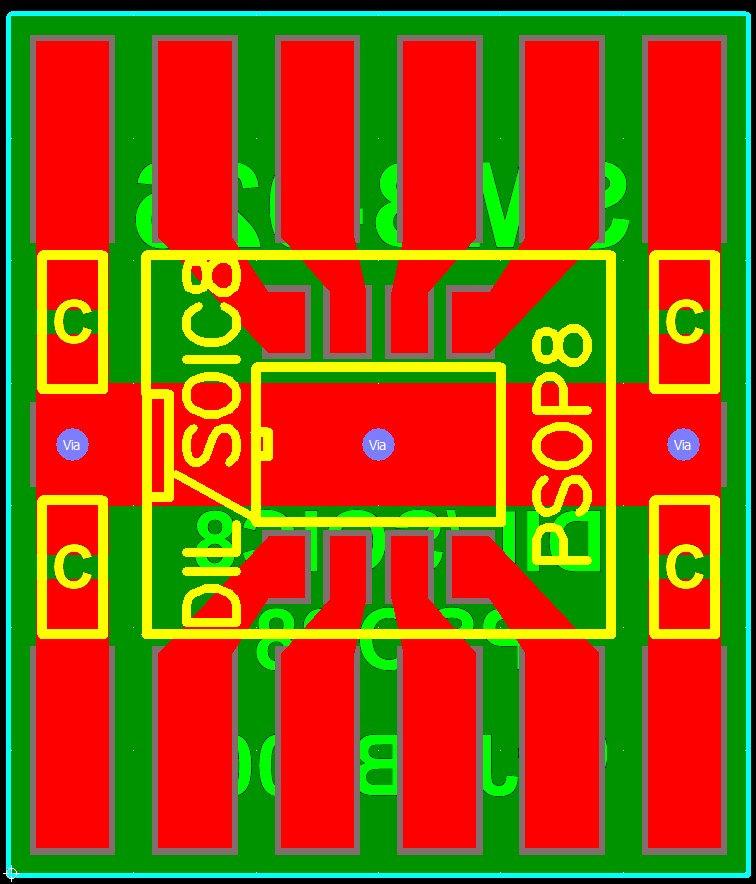
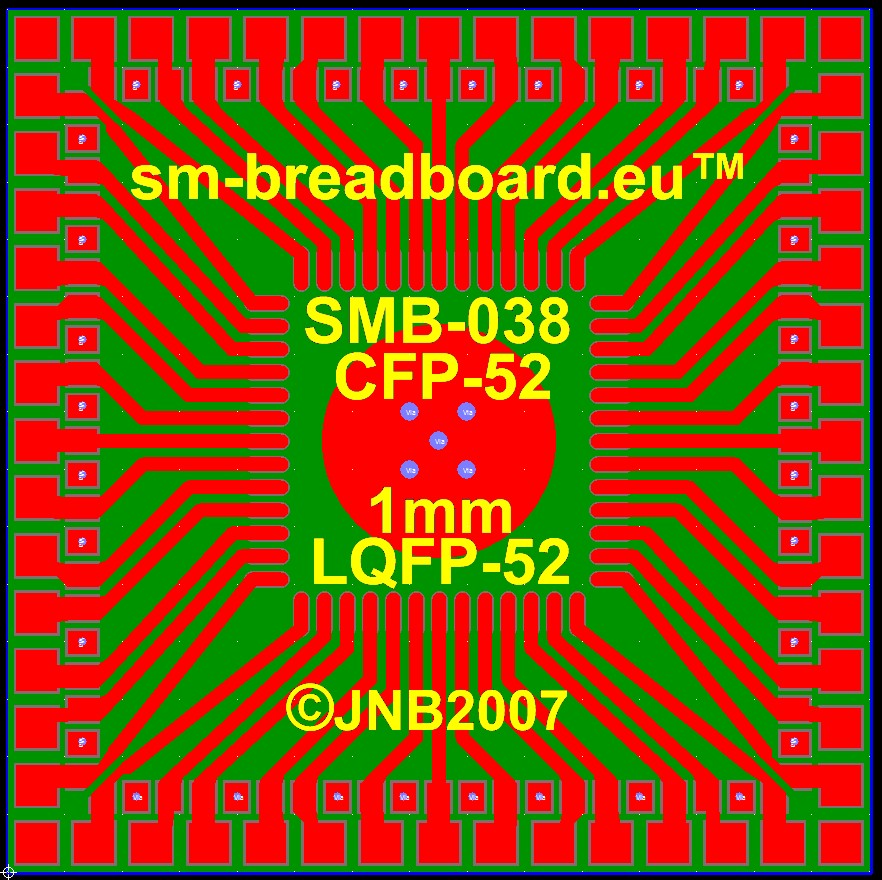
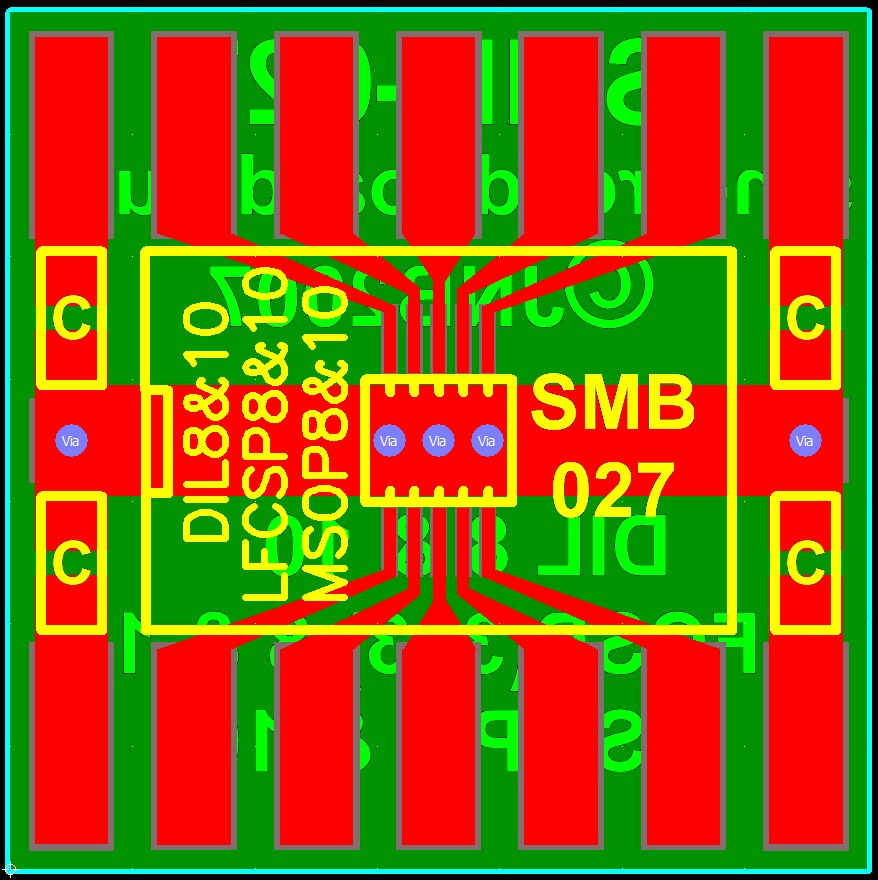
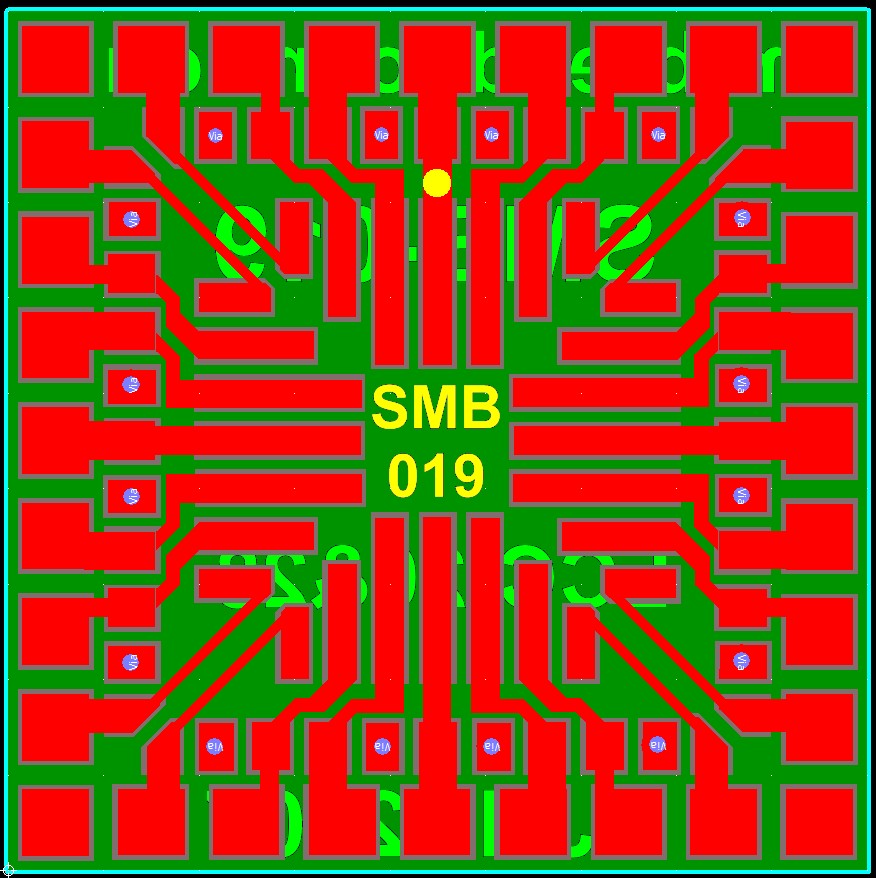
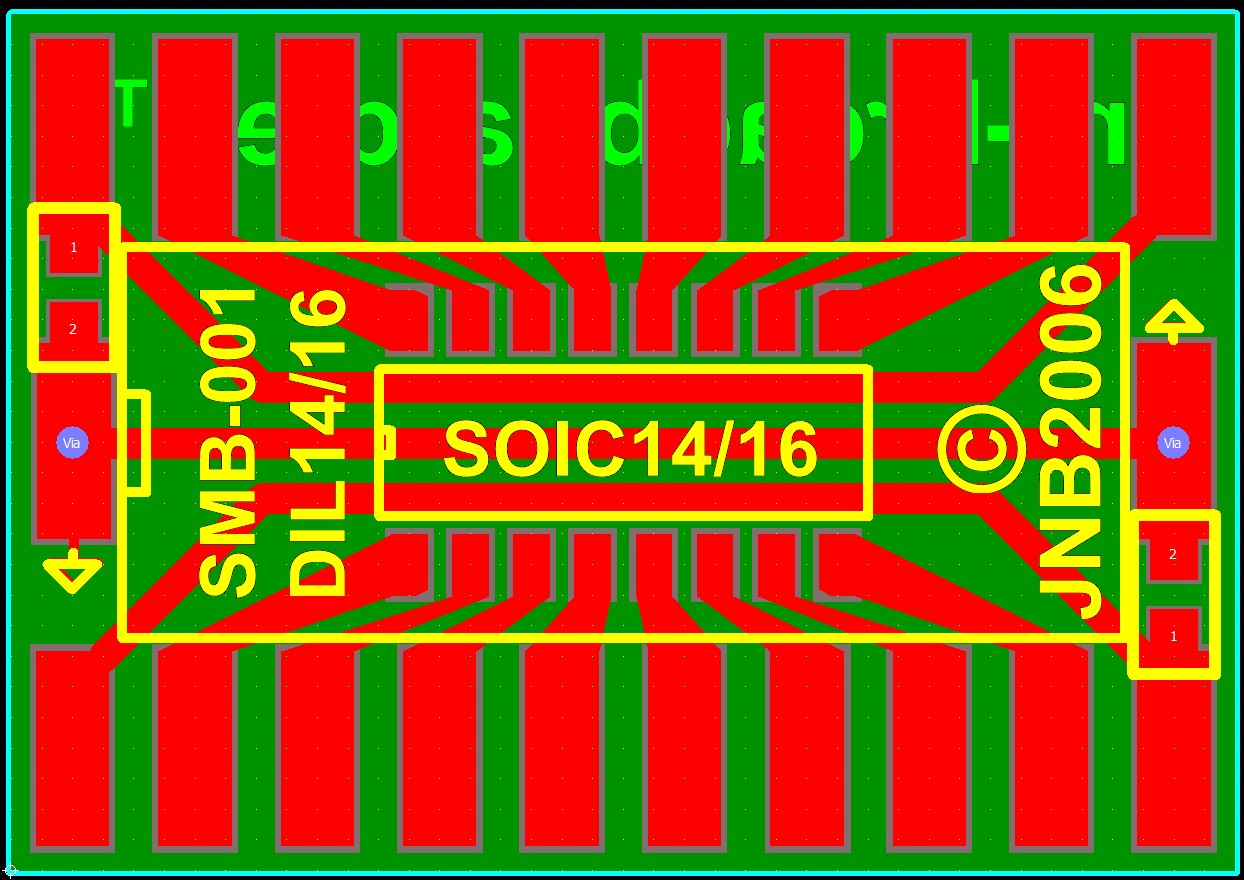
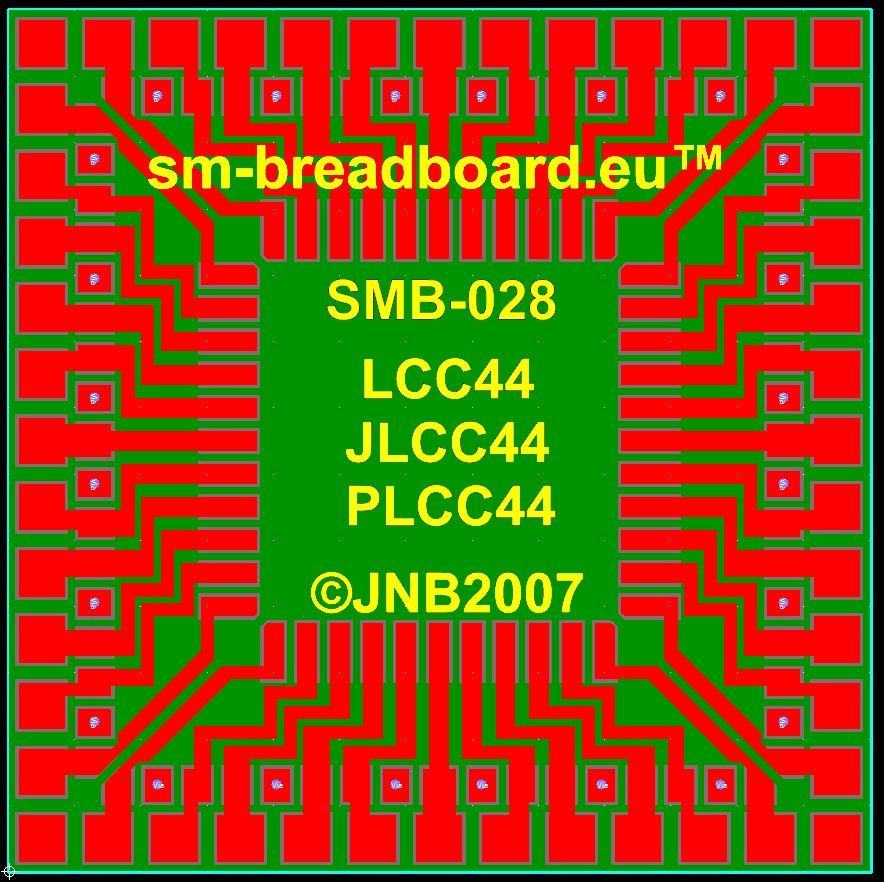
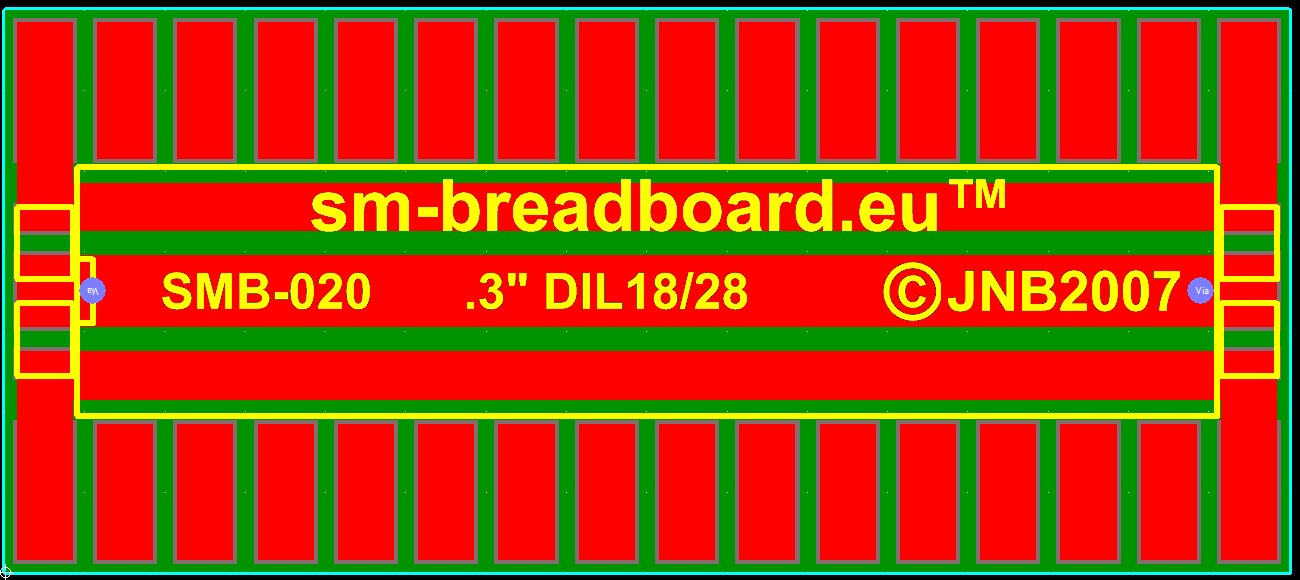
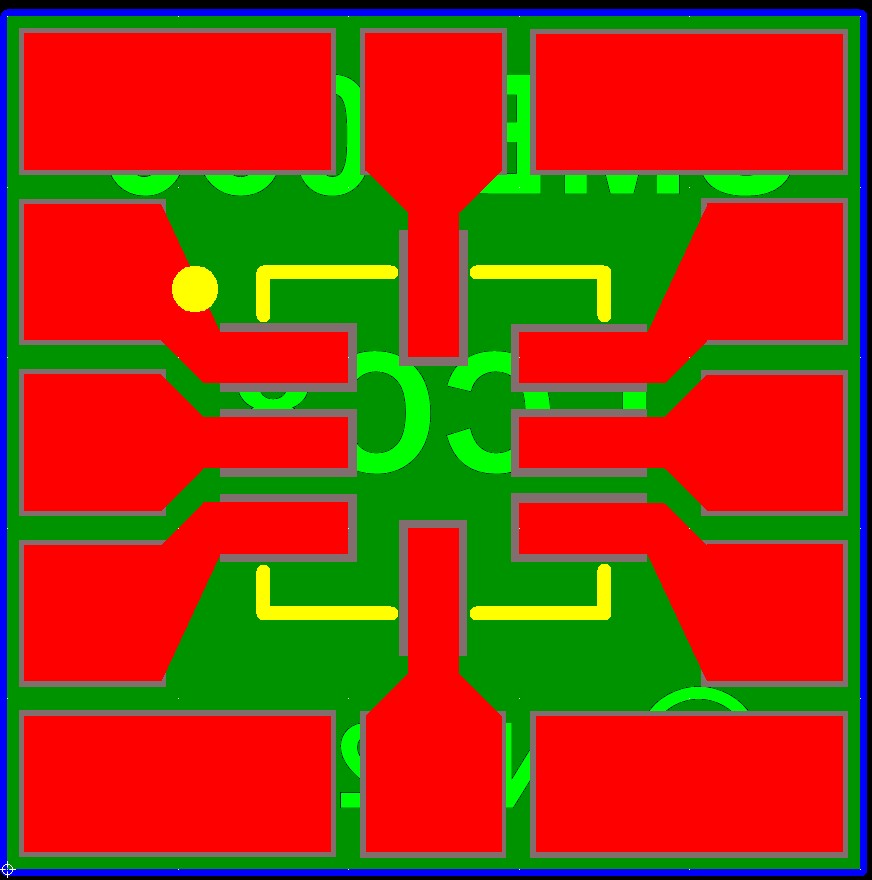
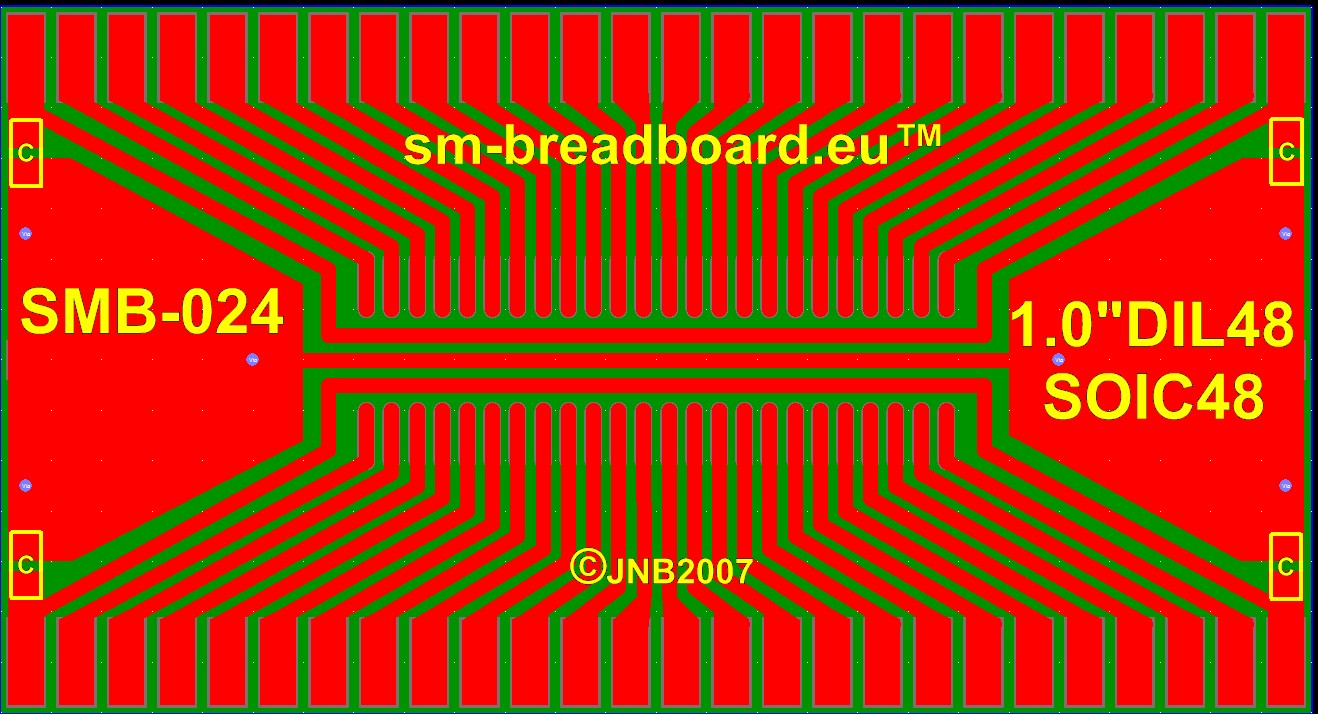
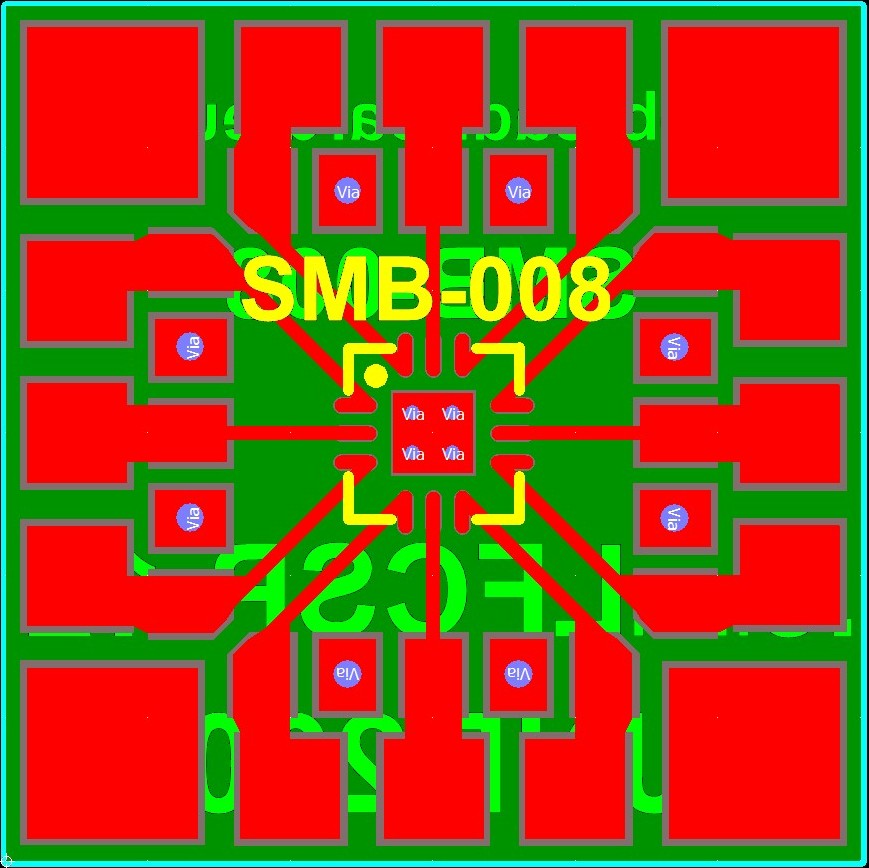
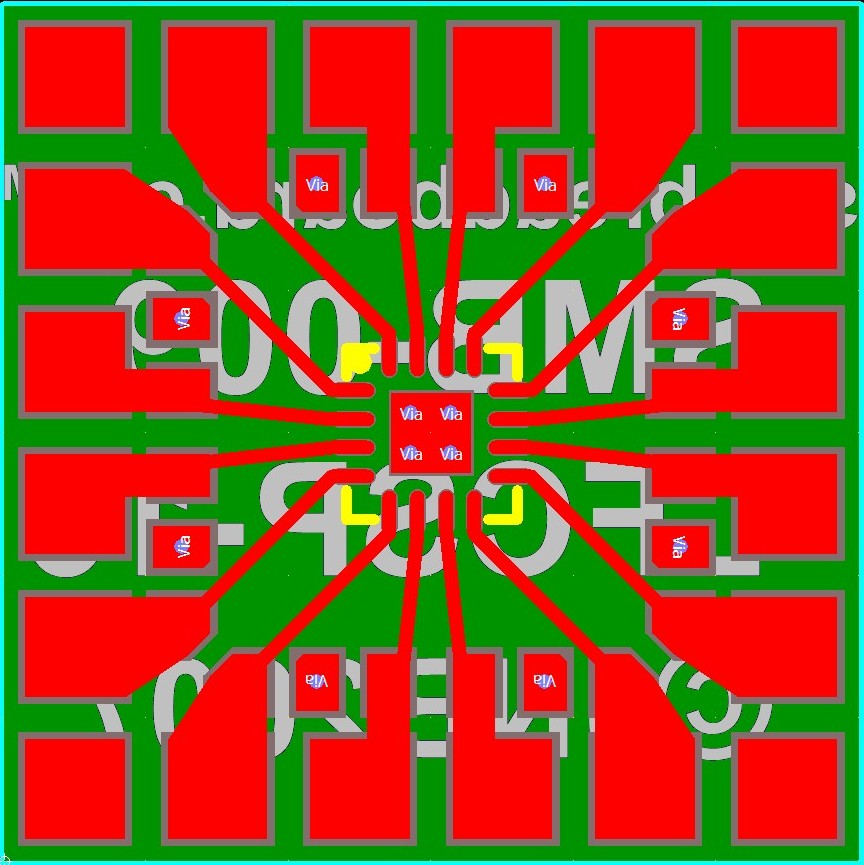
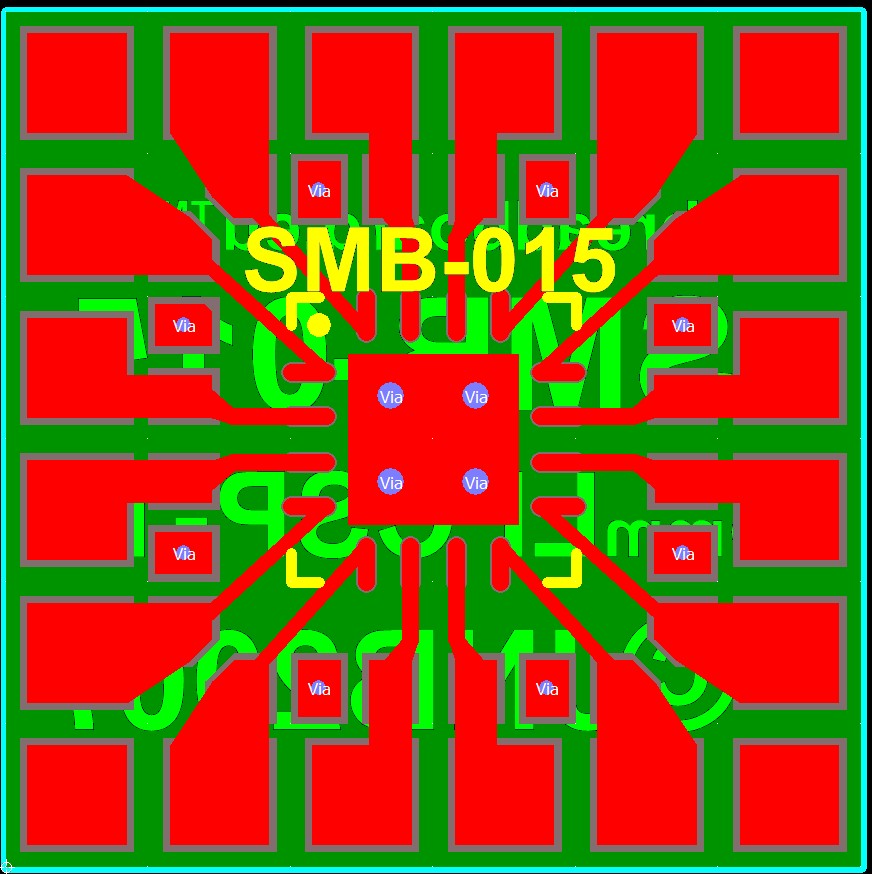
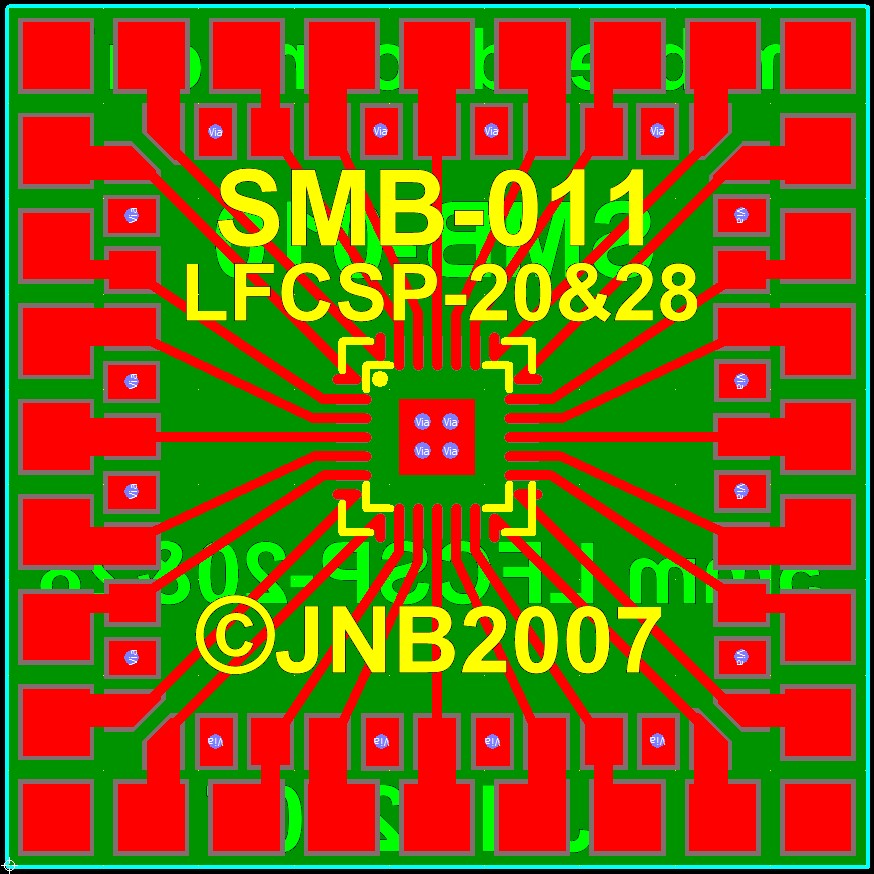
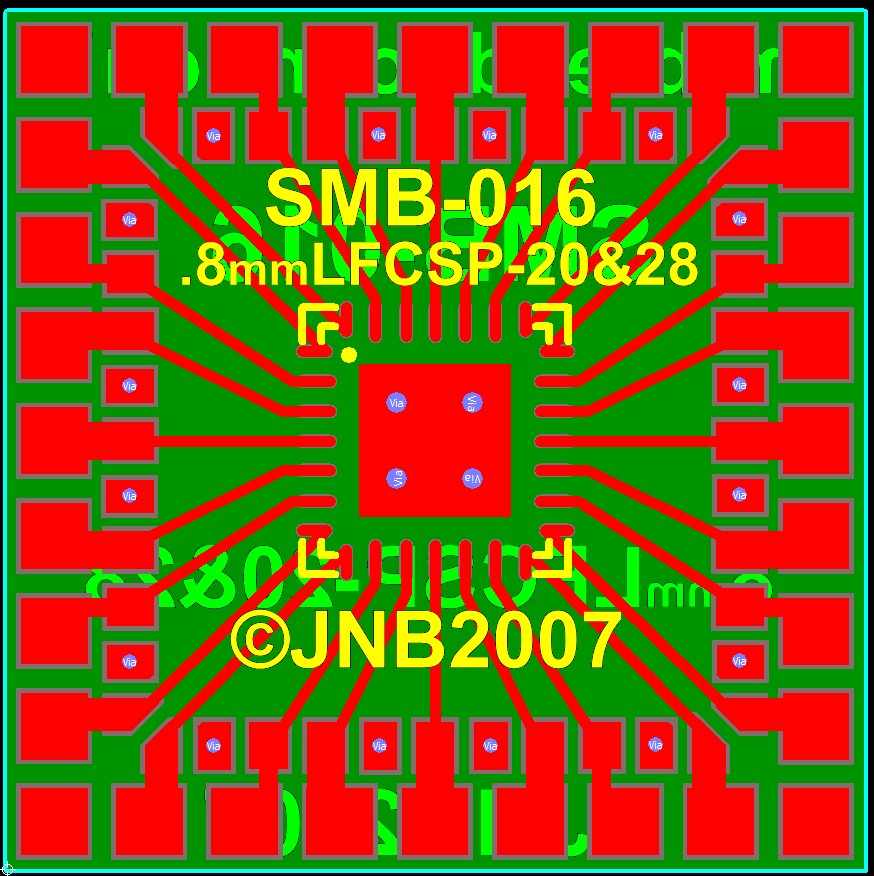
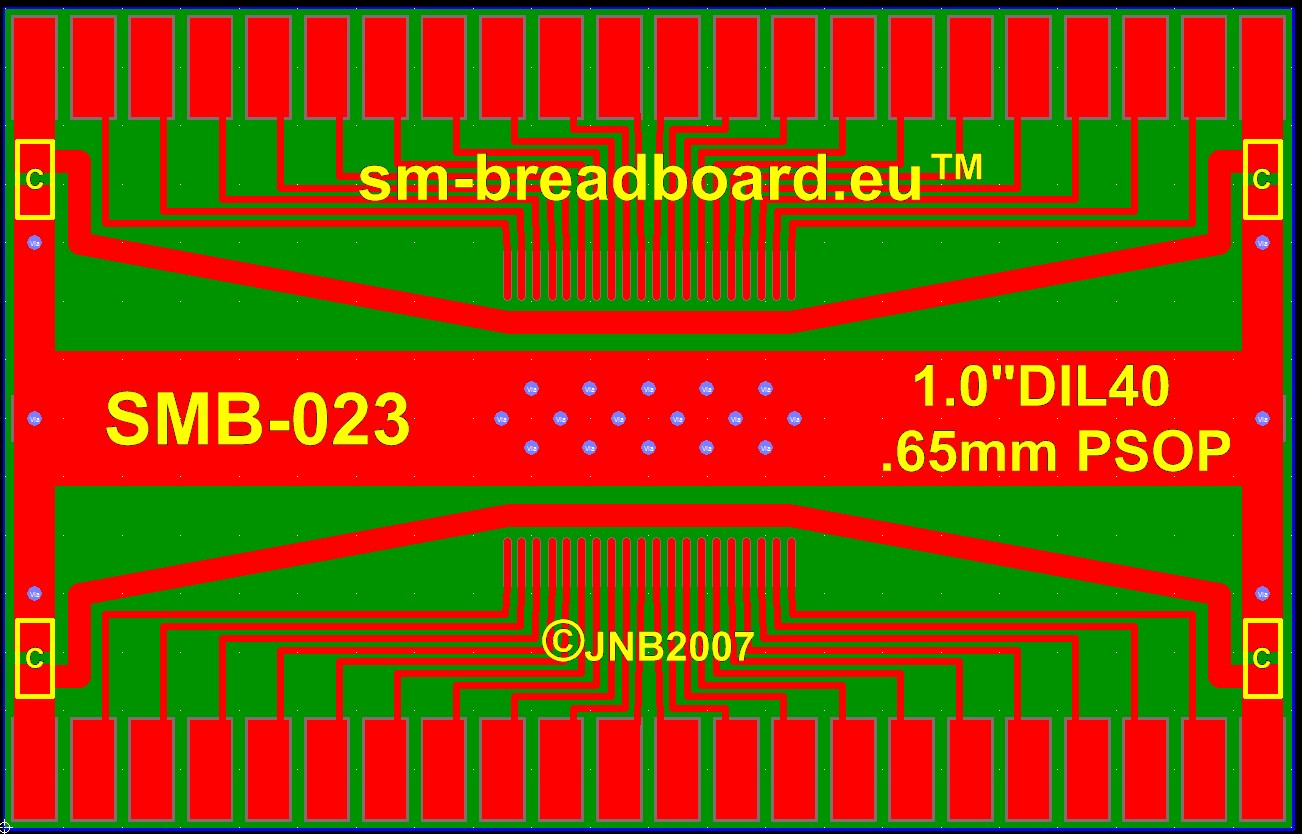
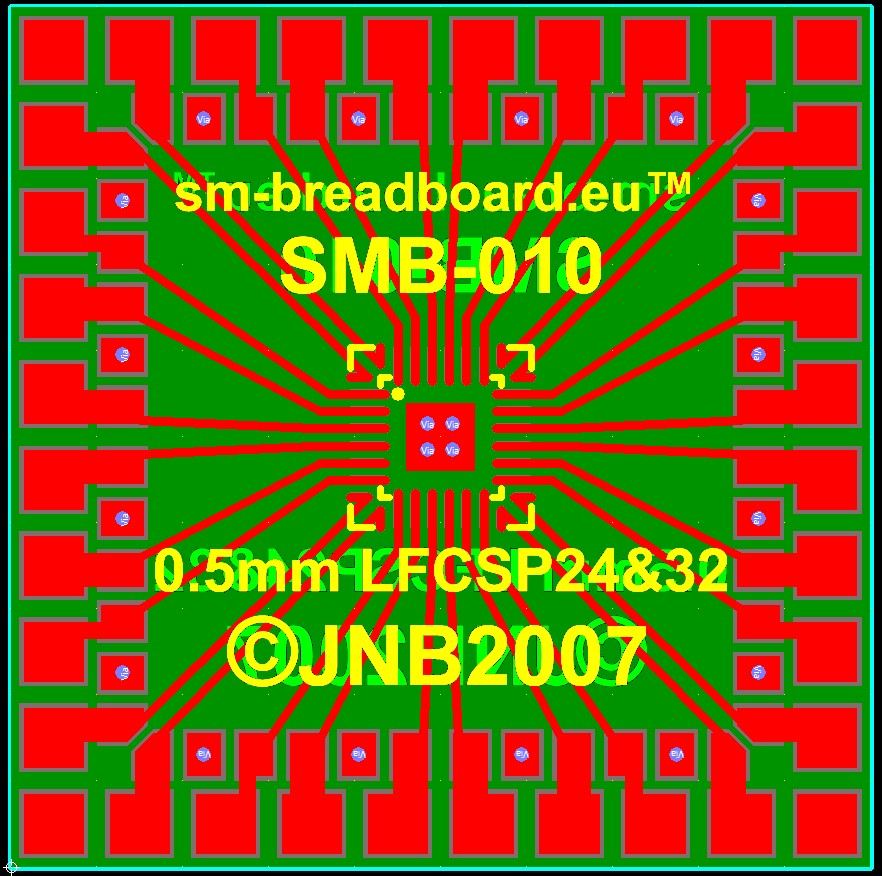
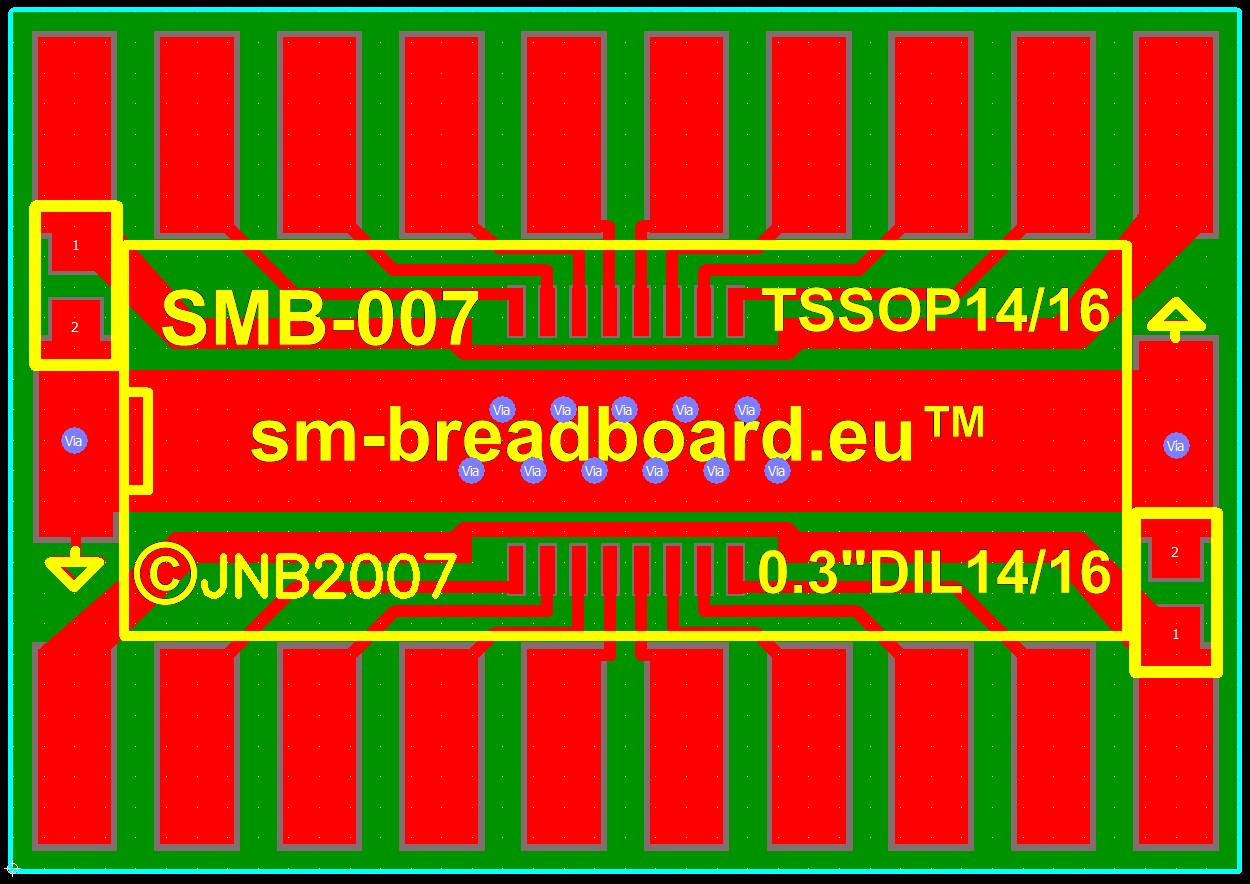
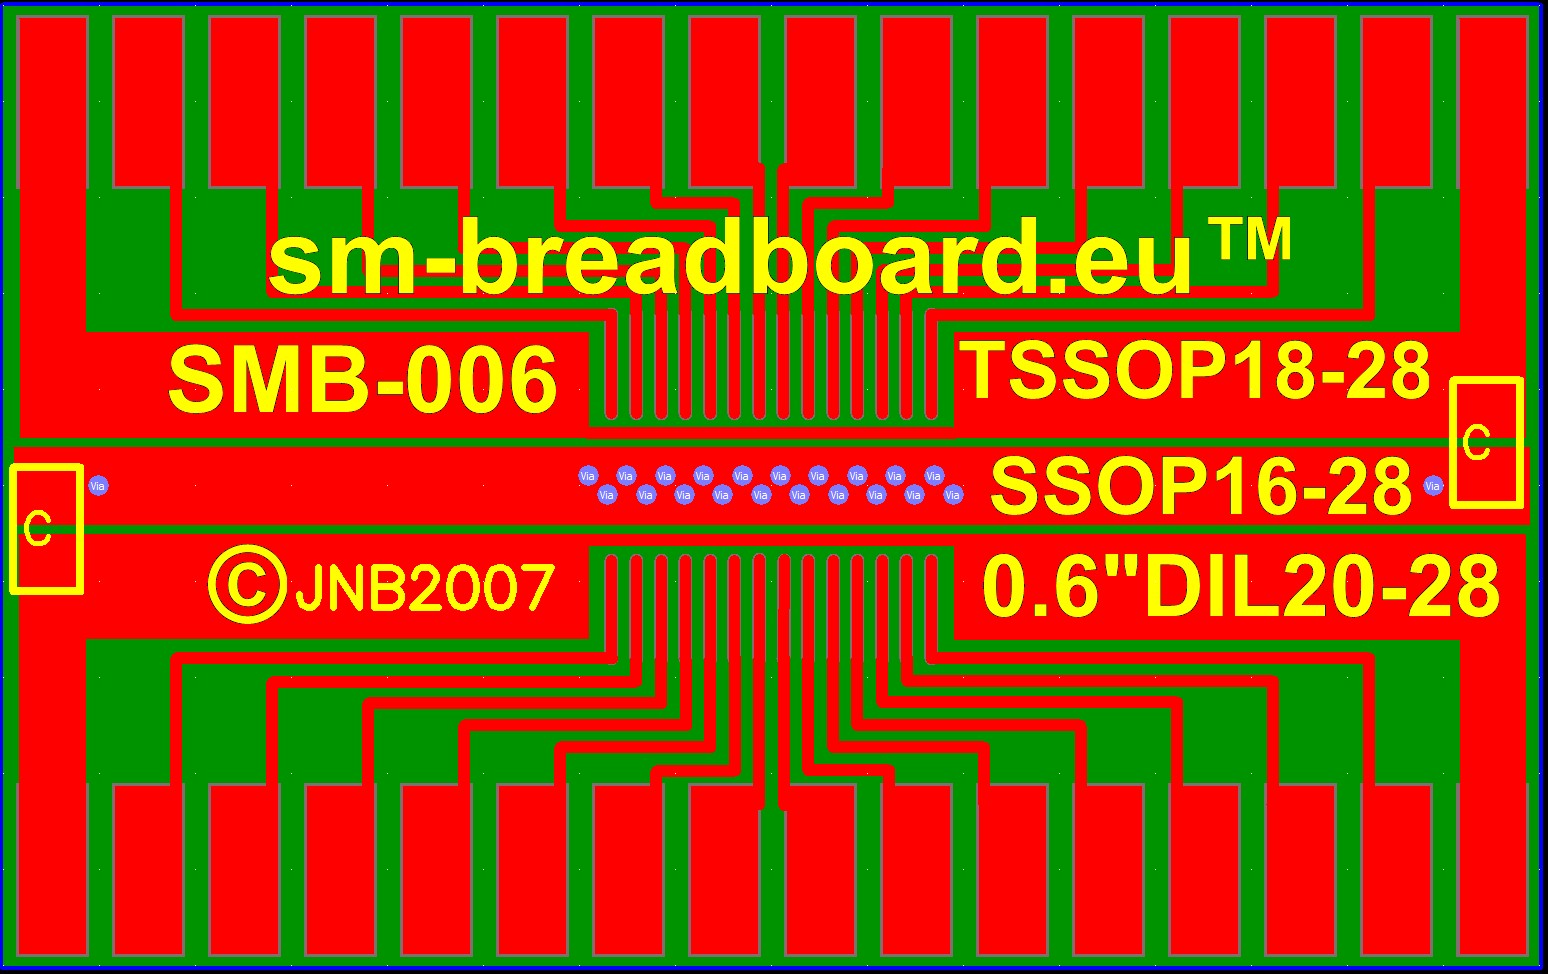
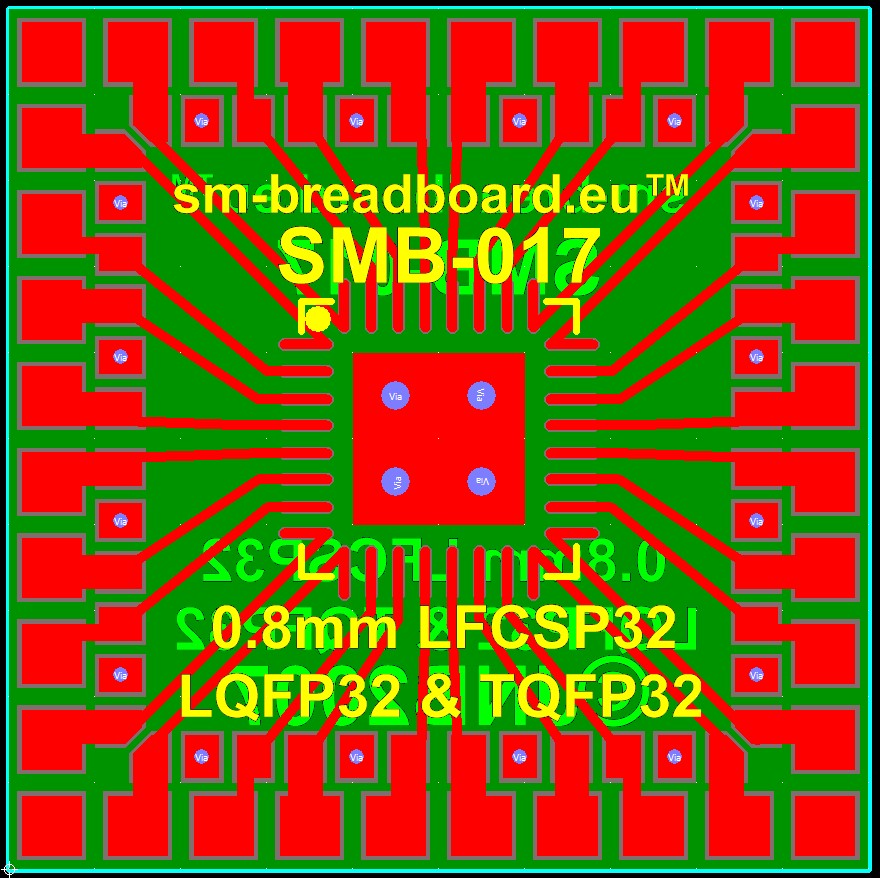
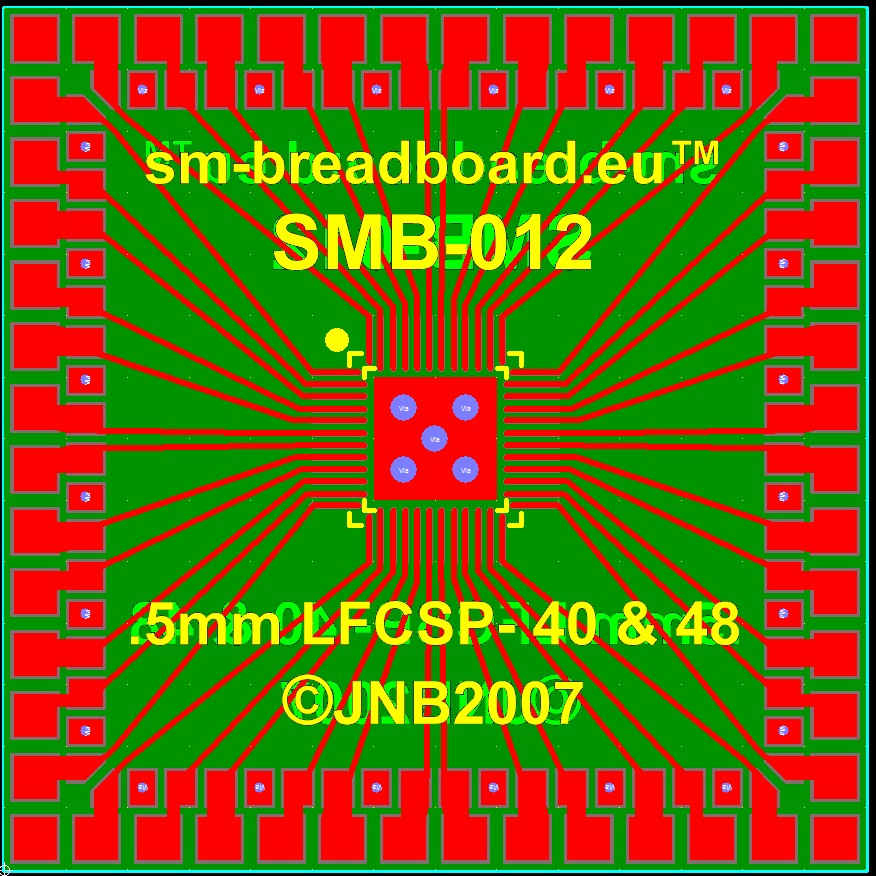
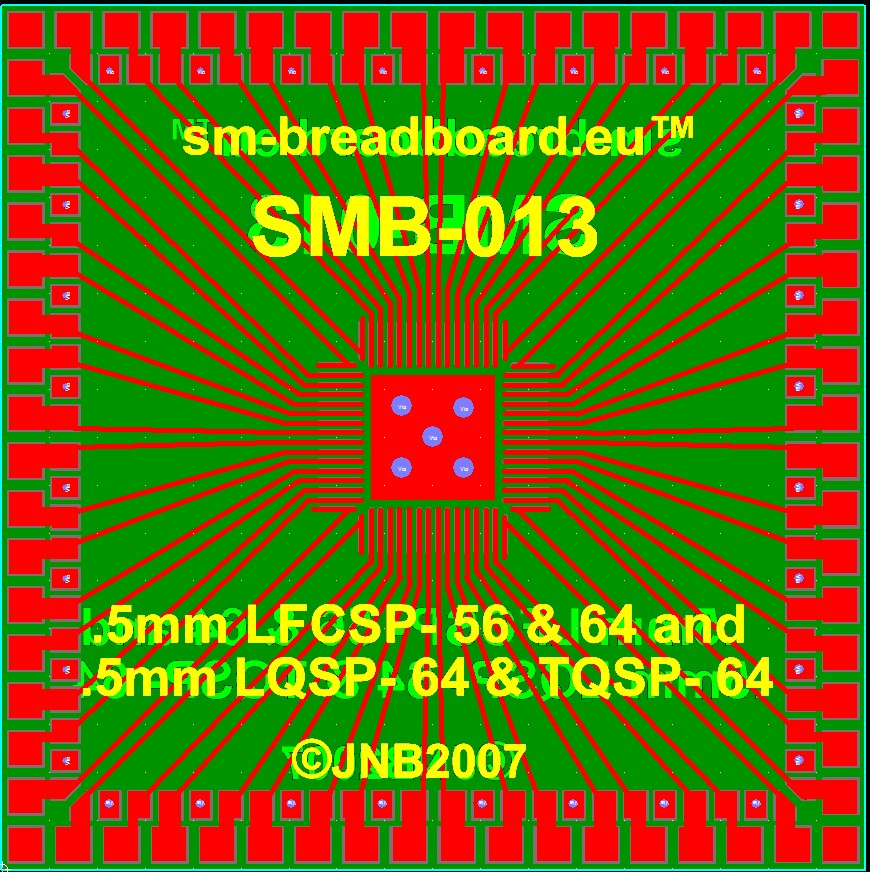
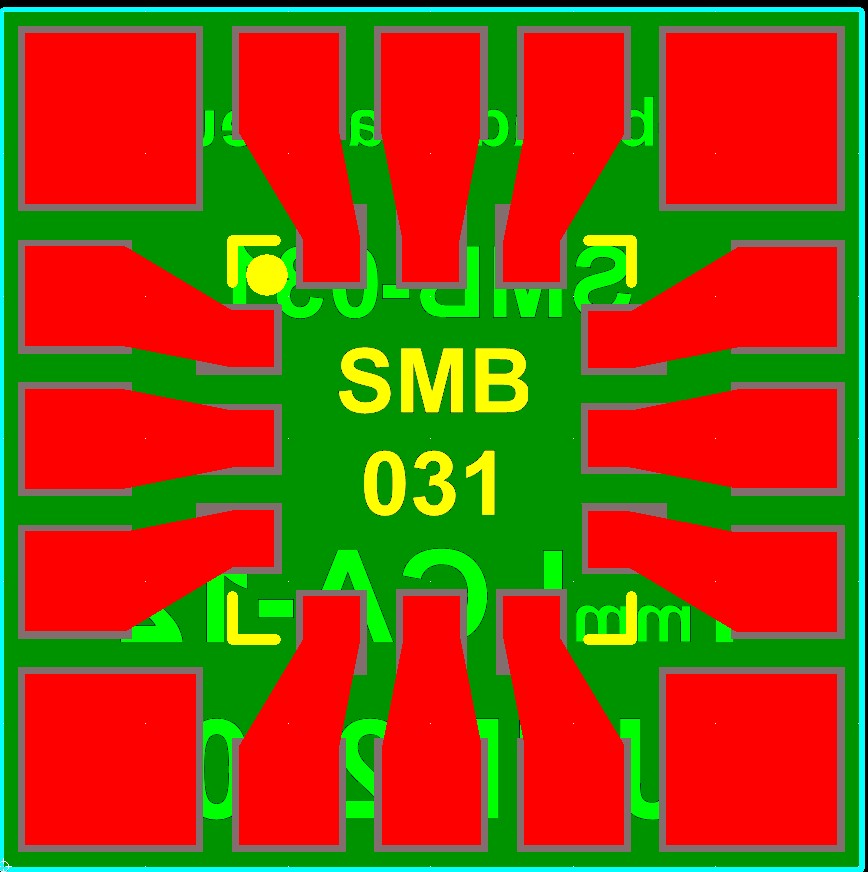
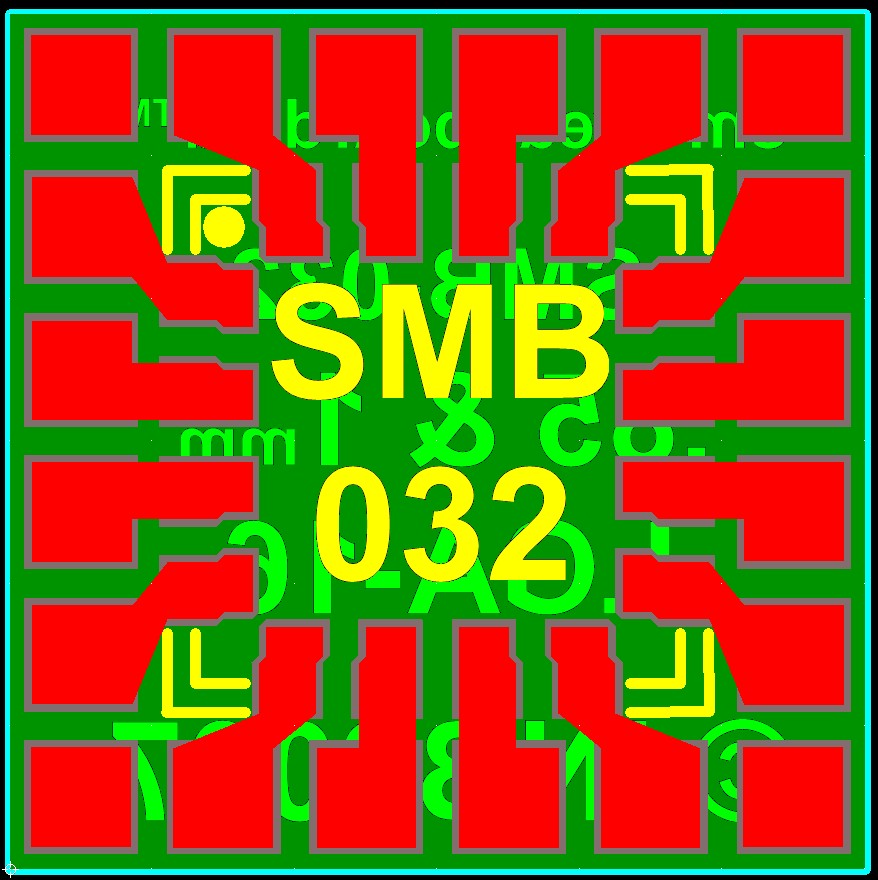
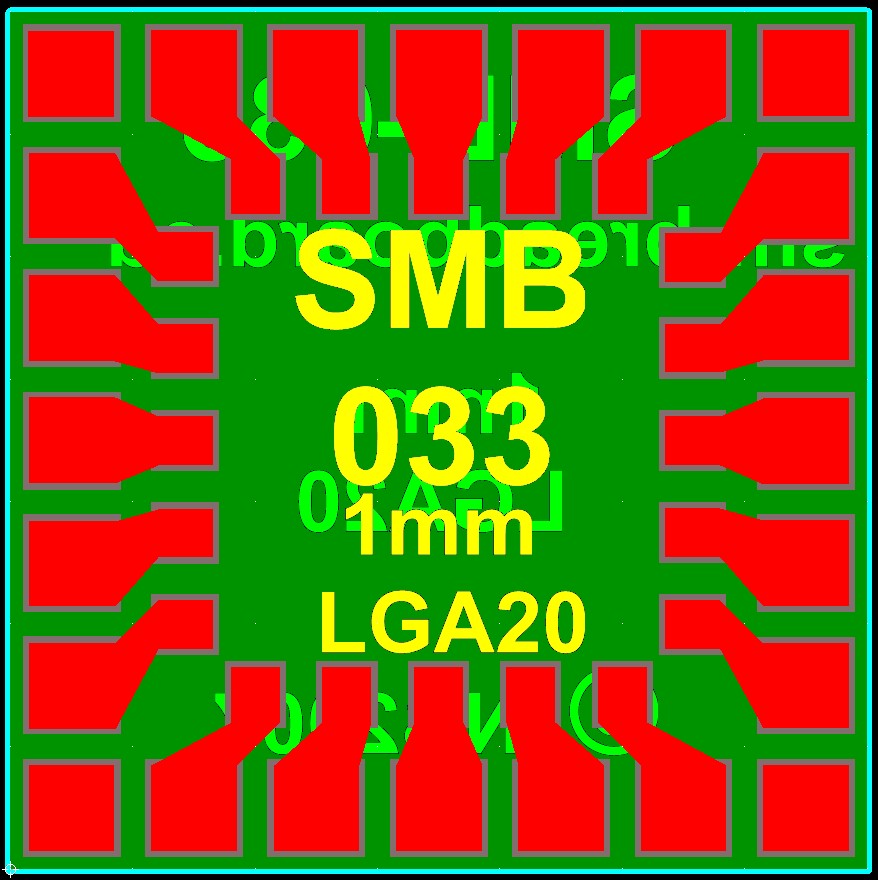
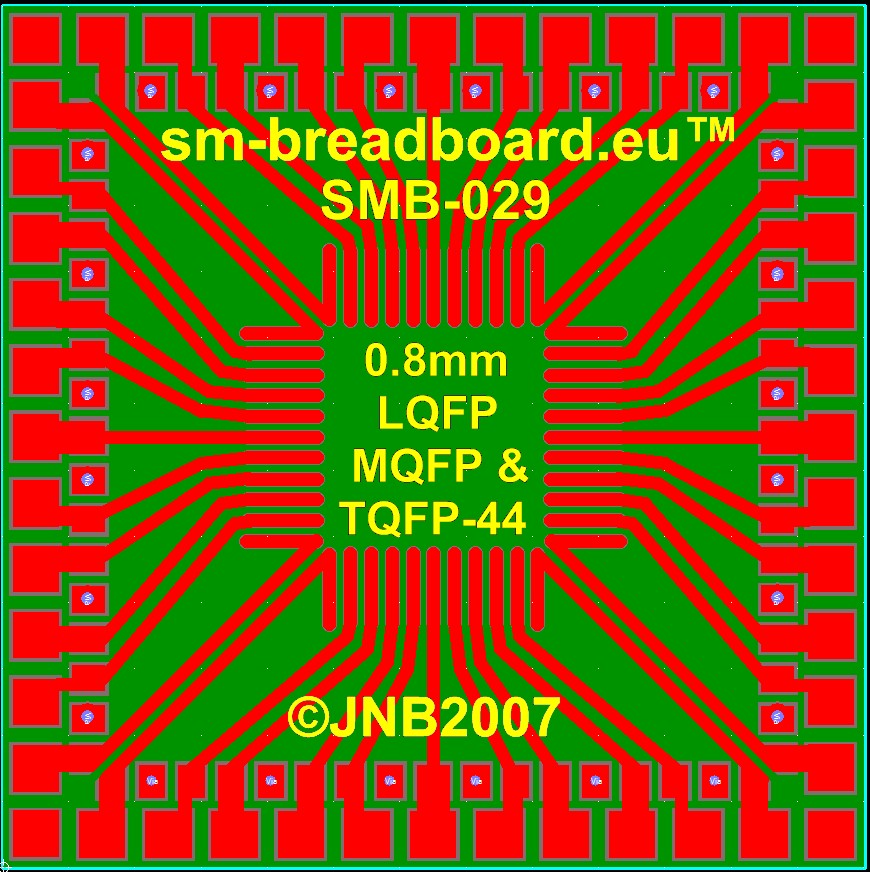
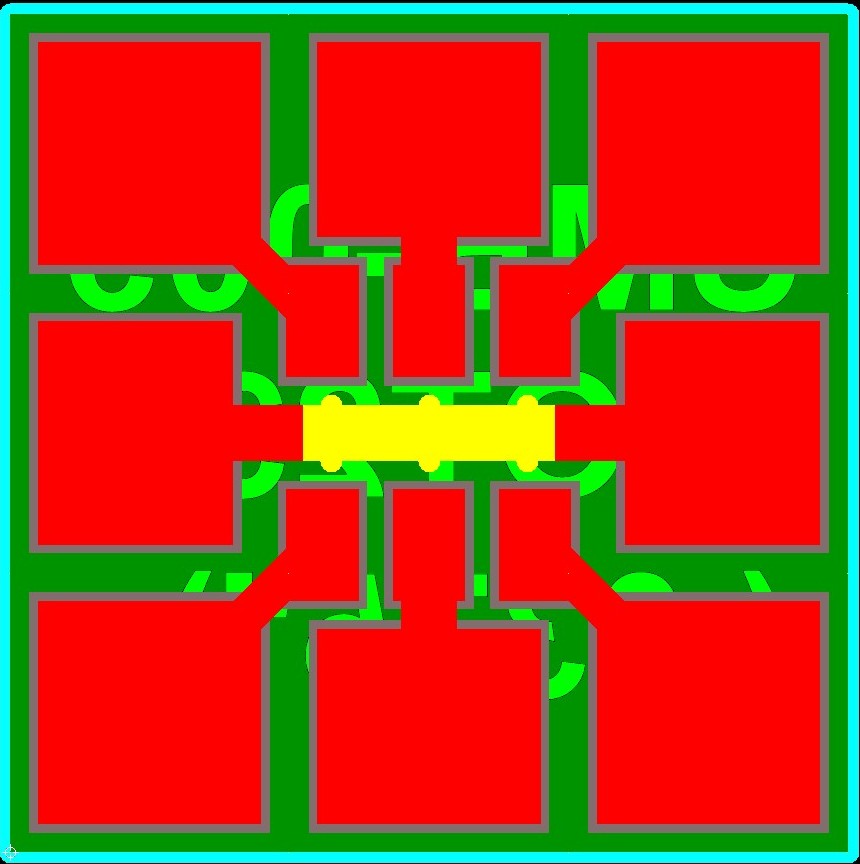
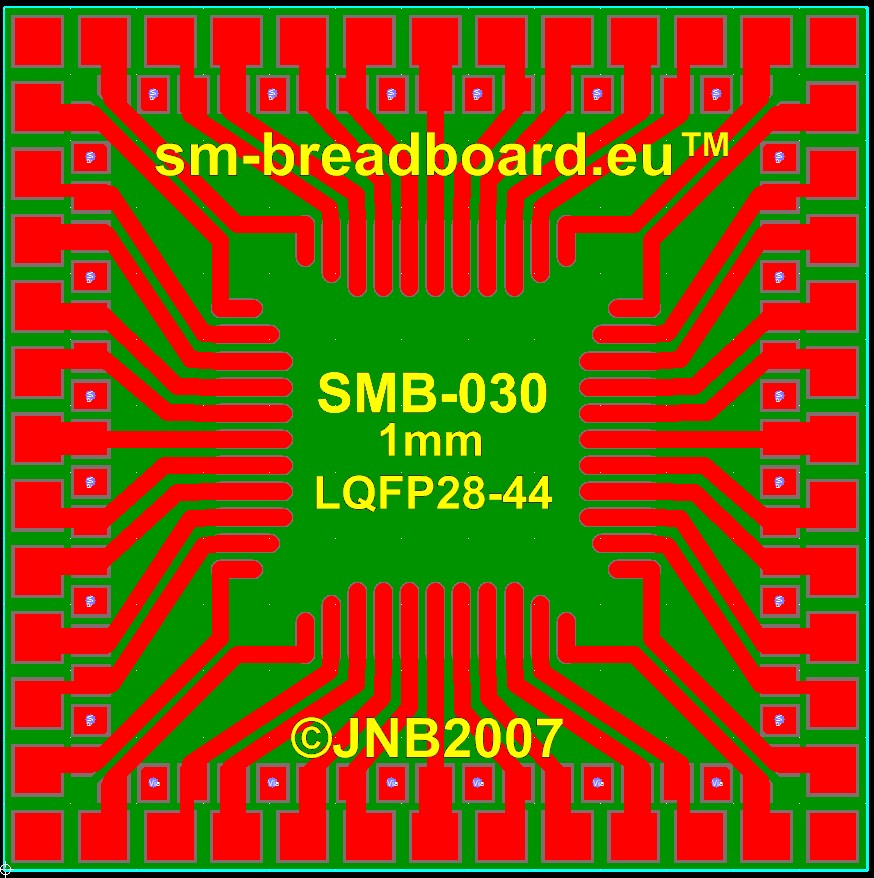
Small PC boards which hold SMDs and have pads (at 0.1” [2.54 mm] spacing)
which are large enough to mount larger wired components. The boards, some of
which can also carry DIL ICs, (usually) have provision for supply decoupling and can
be mounted on a PCB ground plane by soldering their back plane to it (use a HOT iron!).
There are also strips of pads for mounting other components.
You can then breadboard just as you always used to.
Another Problem
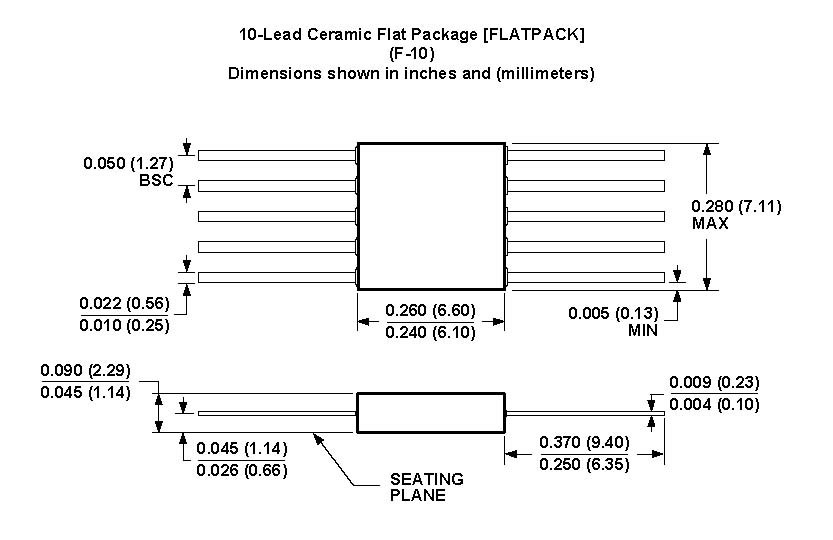
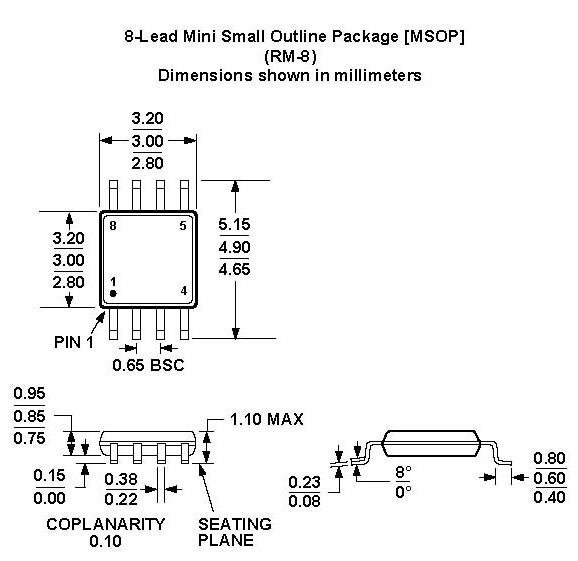
How do I mount the ICs on the little PCBs?
Another Solution
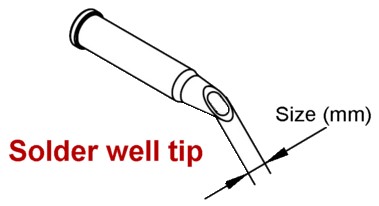
You need a good thermostatic soldering iron with a solder-well tip.
1. Set the tip temperature to the temperature appropriate to the solder alloy being used.
(Leaded solder is cleaner and the EU lead-free laws do not apply to laboratory work.)
2. Place component and fix two opposing corner pins.
3. Apply flux liberally to all the pins of the IC.
4. Clean the solder-well tip on a sponge.
Fill the concave portion of the tip with solder, to slightly above the rim.
Do not overfill!
5. Holding your soldering iron VERY LIGHTLY in your hand, set the filled tip, with the solder-well side parallel to the PCB,
down onto the flat exterior portion of the pins. The iron and tip should be parallel to the body of the SMD.
Slowly pull it across the pins towards you.
6. Repeat steps four and five for the remaining sides of the SMD.
Remove flux residue if necessary.
Note: A suitable iron, available with solder-well tips, is the ERSA i-CON
ERSA GmbH • Leonhard-Karl-Straße 24 • 97877 Wertheim • Germany • www.ersa.com


.jpg)
.jpg)
.jpg)
.jpg)
.jpg)
.jpg)
.jpg)
.jpg)

.jpg)
.jpg)
.jpg)
.jpg)

.jpg)

.jpg)

.jpg)

.jpg)
.jpg)
.jpg)
.jpg)
.jpg)
.jpg)
.jpg)
.jpg)
.jpg)
.jpg)
.jpg)